- Published on
Migrating a Windows 7 VM from Parallels to Proxmox
- Authors

- Name
- Jac Timms
Migrate a virtual machine from Parallels to Proxmox by following these steps. I did it with a Windows 7 VM, which this guide will focus on, but a lot of it will be the same for any version.
Step 1: Accessing and Extracting .hds Files
First, locate your Parallels VM package. This is typically a .pvm file. Right-click on the .pvm file and select "Show Package Contents." Inside, you’ll see several files, including .hdd files for each virtual drive. Right-click each .hdd file and select "Show Package Contents" again to find the .hds files.
Copy these .hds files to a directory with enough space to duplicate them. This directory will be used for conversion.
Step 2: Converting .hds to .raw
Open Terminal and navigate to the directory containing your .hds files. Use the following command to convert each .hds file to a .raw file:
qemu-img convert -f parallels -O raw VMNAME-0.hds VMNAME-0.raw
Note: .raw files are essentially the same as .dmg files. You can rename the .raw to .dmg to verify the conversion by browsing the contents of the files.
While you can also use the qcow2 format, which offers features like compression and snapshots, this guide will use the .raw format for simplicity.
Step 3: Uploading .raw Files to Proxmox
Once you've verified the conversion, upload the .raw files to your Proxmox server using SSH. Here’s an example command to upload the file:
scp VMNAME-0.raw root@proxmox-server:/path-to-upload-directory/
Step 4: Creating and Configuring the VM in Proxmox
- Create a New VM: In Proxmox, create a new VM with settings as close to the original as possible. Note the VM ID assigned (e.g., 105).
- Remove the Default Disk: Once the VM is created, detach and delete the default disk created by Proxmox.
- Import the Disk Image: Use the following command to import the .raw disk image to your new VM:
qm importdisk 105 /path-to-file/VMNAME-0.raw local-lvm
- Attach the Disk: Attach the imported disk to the VM as an IDE device. Go to the VM options and set it first in the boot order, ensuring it’s enabled.
Step 5: Installing VirtIO Drivers
- Download VirtIO Drivers: In Proxmox, go to the storage where ISO Images are enabled and select "Download from URL." Use the following URL to download the VirtIO drivers for Windows 7 (use newer versions of VirtIO for newer versions of Windows):
https://fedorapeople.org/groups/virt/virtio-win/direct-downloads/archive-virtio/virtio-win-0.1.160-1/virtio-win.iso
- Attach the ISO: Edit the VM settings and attach the VirtIO ISO to the CD-ROM drive.
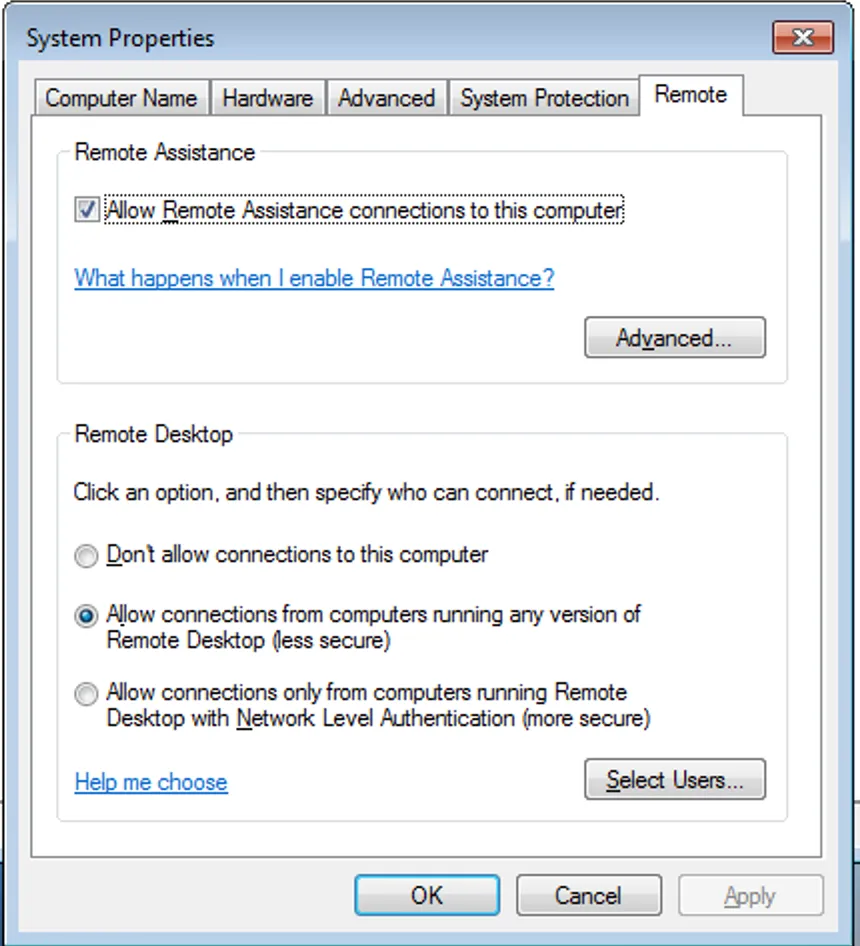
- Boot the VM: Start the VM. You can use the Proxmox console or enable remote connections under System Properties > Remote and use Remote Desktop to connect.
Install Drivers:
- Open Computer Management (right-click My Computer > Manage) and go to Device Manager.
- For each device with a yellow warning, right-click and select "Update Driver Software."
- Choose "Browse my computer for driver software" and select the VirtIO CD-ROM with "Include subfolders" checked.
- Install drivers for viostor, vioscsi, balloon, etc.
Install Guest Agent: If there is an unknown device remaining, this is typically the guest agent. Install it from the VirtIO ISO as well.
Step 6: Finalising the Migration
Reboot the VM after installing all drivers. Your Windows 7 VM should now be fully migrated and running on Proxmox, accessible via RDP or the Proxmox console.
Congratulations! You've successfully migrated your Windows 7 VM from Parallels to Proxmox.